Welcome to our comprehensive guide on connecting, managing, and changing wallets in Galxe, a popular cryptocurrency platform. Whether you’re a newcomer to the world of digital currencies or an experienced trader, understanding how to navigate your wallets is crucial for seamless and secure transactions.
Connecting Your Wallet:
Before you can begin using Galxe, you’ll need to connect your wallet to the platform. To do this, follow these simple steps:
- Create a New Wallet: If you don’t have a Galxe wallet yet, you’ll need to create one. Visit the Galxe website and click on the “Create Wallet” button. Fill in the required information and securely store your wallet’s seed phrase.
- Access Your Wallet: Once you have your wallet, make sure you have the necessary credentials (username and password) to log in. Navigate to the Galxe platform and click on “Log In” in the top right corner. Enter your credentials and click “Log In” to access your wallet.
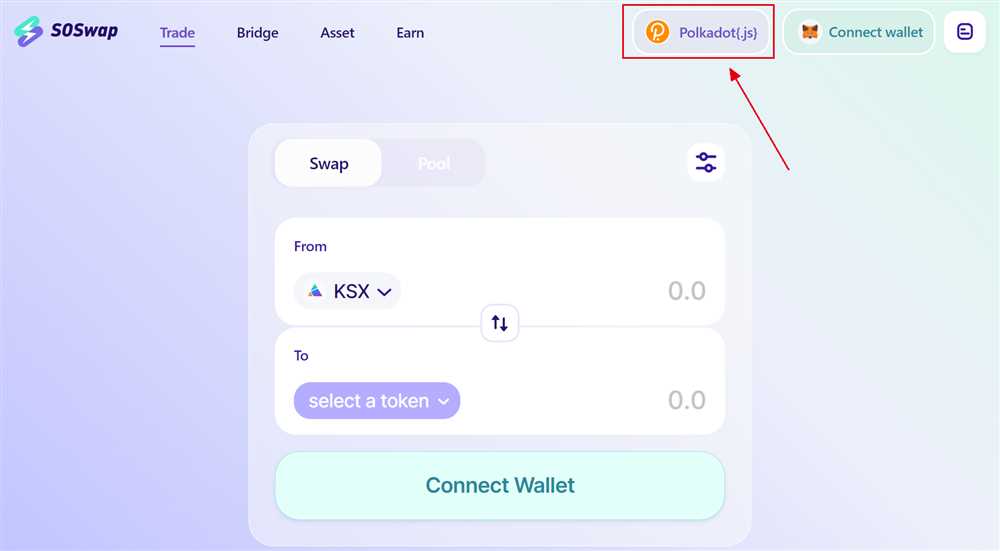
- Connect Your Wallet: To connect your wallet to Galxe, select the “Connect Wallet” option in the top right corner of the platform. Choose your preferred wallet provider from the list of supported options (such as MetaMask, Trust Wallet, or WalletConnect) and follow the prompts to connect your wallet.
Managing Your Wallet:
Once your wallet is connected, you can start managing your digital assets more efficiently. Here are some key actions you can take within your Galxe wallet:
- View Your Balance: Check the balance of your various cryptocurrencies within your wallet. Galxe provides a simple and intuitive user interface to help you keep track of your holdings.
- Send and Receive: Easily send and receive cryptocurrencies by entering the recipient’s address and the desired amount. Galxe ensures secure and fast transactions for a seamless experience.
- Manage Transactions: Keep an eye on your transaction history, including all incoming and outgoing transfers. This feature allows you to stay organized and monitor the flow of your funds.
Changing Your Wallet:
If you decide to switch to a different wallet provider, Galxe makes the process straightforward. Follow these steps to change your wallet:
- Create a New Wallet: Similar to connecting your wallet, you’ll need to create a new wallet with your chosen provider.
- Access Your New Wallet: Once you’ve set up your new wallet, log in to Galxe using your new wallet’s credentials.
- Connect Your New Wallet: Navigate to the “Connect Wallet” option again, but this time select your new wallet provider. Follow the prompts to connect your new wallet.
- Migrate Your Assets: If you have any funds or assets in your old wallet, you’ll need to transfer them to your new wallet. Galxe provides step-by-step instructions to help you migrate your assets securely and efficiently.
By following these steps, you can seamlessly connect, manage, and change wallets in Galxe. Remember to stay informed about the latest security measures and best practices to ensure the safety of your digital assets.
Note: Always double-check the authenticity of websites and wallet providers to avoid scams and potential risks. Exercise caution when entering sensitive information and keep your wallet’s seed phrase in a secure location.
How to Connect Wallets in Galxe
If you want to connect your wallet to Galxe, you can easily do so by following these step-by-step instructions.
Step 1: Open Galxe
Launch the Galxe application on your device.
Step 2: Navigate to the Wallet Settings
Once you are in the Galxe application, locate and select the wallet settings option. This can usually be found in the menu or settings section of the app.
Step 3: Choose “Connect Wallet”
In the wallet settings menu, look for the option to connect a new wallet. Select this option to proceed.
Step 4: Select the Wallet Type
Galxe supports a variety of wallet types, such as MetaMask, Trust Wallet, and WalletConnect. Choose the wallet type that you want to connect.
Step 5: Follow the Wallet-Specific Instructions
Once you have selected the wallet type, Galxe will provide specific instructions on how to connect that particular wallet. Follow these instructions carefully to ensure a successful connection.
Step 6: Confirm the Wallet Connection
After following the wallet-specific instructions, Galxe will prompt you to confirm the connection. This is typically done by approving a transaction or providing permission within the connected wallet.
Step 7: Complete the Connection
Once you have confirmed the wallet connection, Galxe will finalize the process. You should now see your connected wallet within the Galxe application.
Step 8: Manage and Change Wallets
With your wallet successfully connected, you can now manage your wallet settings within Galxe. This includes changing your connected wallet, adding additional wallets, or removing existing ones.
Following these steps, you will be able to easily connect your desired wallet to Galxe and start using it within the application. Remember to securely store and manage your wallet information to ensure the safety of your funds.
Step 1: Download and Install Galxe Wallet App

To begin managing and changing your wallets in Galxe, you’ll first need to download and install the Galxe Wallet app. The app is available for both Android and iOS devices, so make sure to choose the appropriate version for your smartphone or tablet.
Here are the steps to download and install the Galxe Wallet app:
- Open the App Store on your iOS device or Google Play Store on your Android device.
- Search for “Galxe Wallet” in the search bar.
- Once you find the app, tap on it to open the app description page.
- Tap on the “Download” or “Install” button to begin the download and installation process.
- Wait for the app to download and then tap on the “Open” button to launch the Galxe Wallet app.
Once the app is installed and opened, you’ll be prompted to create a new wallet or import an existing one. If you’re new to Galxe, you can choose to create a new wallet, and if you already have a Galxe wallet, you can import it into the app using your recovery phrase or private key.
Remember to keep your wallet and recovery phrase secure. The Galxe Wallet app provides a secure and convenient way to manage and change your wallets, allowing you to seamlessly connect to blockchain networks and access your digital assets.
Step 2: Create a New Wallet in Galxe
To connect, manage, and change wallets in Galxe, you first need to create a new wallet. Follow the steps below to set up a new wallet.
Step 1: Access the Galxe Platform

To get started, access the Galxe platform by entering the web address into your browser or by clicking on the Galxe app icon on your device.
Step 2: Click on “Create New Wallet”
Once you are on the Galxe platform, look for the “Create New Wallet” button and click on it. This will take you to the wallet creation page.
Step 3: Set Up a Secure Password
On the wallet creation page, you will be prompted to set up a password for your new wallet. Make sure to choose a strong password that is unique and not easily guessable. Remember to write down or remember this password as it will be required to access your wallet in the future.
Step 4: Generate a Wallet Address
After setting up your password, Galxe will generate a unique wallet address for you. This wallet address is like your bank account number and can be used to receive funds or interact with the Galxe platform.
Take note of this wallet address and keep it in a secure place as it will be needed for future transactions.
Step 5: Backup your Wallet
It is important to create a wallet backup to protect your funds. Galxe will usually provide you with a recovery phrase, which is a set of words that can be used to restore your wallet in case of loss or theft. Write down this recovery phrase and store it in a safe and secure location.
Remember to never share your recovery phrase with anyone, as it can be used to access your wallet and steal your funds.
Once you have completed these steps, you have successfully created a new wallet in Galxe. You can now proceed to connect, manage, and change wallets as needed within the Galxe platform.
Step 3: Connect Existing Wallets to Galxe
Once you have created a Galxe account and set up your profile, the next step is to connect your existing wallets to Galxe. This will allow you to manage and change your various wallets all in one place.
To connect your existing wallets, follow these steps:
- Log in to your Galxe account.
- Click on the “Wallets” tab in the navigation menu.
- On the “Wallets” page, locate the button or link that says “Connect Wallet.”
- Click on the “Connect Wallet” button/link.
- A pop-up window will appear with a list of supported wallets.
- Choose the wallet you want to connect from the list.
- Follow the instructions provided by the wallet to connect it to Galxe.
- Once connected, you will see the wallet appear on your Galxe “Wallets” page.
- Repeat these steps for any additional wallets you want to connect.
By connecting your existing wallets to Galxe, you can easily manage and switch between multiple wallets without the hassle of logging in and out of different platforms. This makes it convenient for users who hold cryptocurrencies on different exchanges or platforms.
It’s important to note that while Galxe supports a wide range of wallets, not all wallets may be supported. Make sure to check the list of supported wallets on the Galxe website or reach out to the Galxe support team for assistance if your wallet is not listed.
With your wallets connected, you can now easily access and manage your cryptocurrency holdings through Galxe’s intuitive interface.
Step 4: Manage Your Wallets in Galxe
Once you have connected your wallets to Galxe, you will have the ability to manage them and make changes as needed. Here are a few key steps to keep in mind:
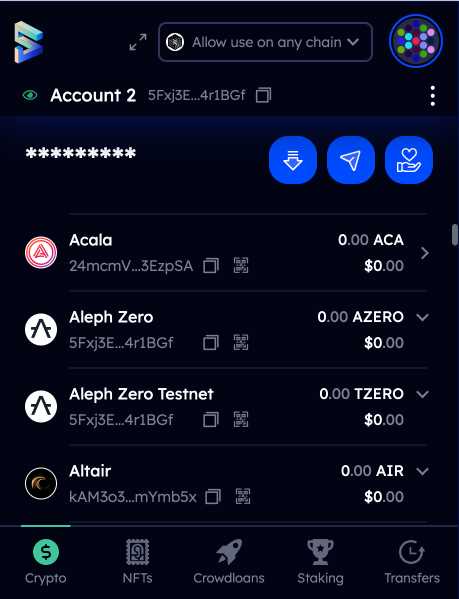
1. View Your Wallets:
To view your connected wallets, click on the “Wallets” tab in the Galxe platform. This will display a list of all the wallets you have connected.
2. Add a New Wallet:
If you want to add a new wallet, simply click on the “Add Wallet” button within the “Wallets” tab. You will be prompted to select the type of wallet you want to add and then follow the necessary steps to connect it to Galxe.
3. Remove a Wallet:
If you no longer want to use a specific wallet with Galxe, you can remove it from your account. To do this, go to the “Wallets” tab and click on the three-dot menu next to the wallet you want to remove. Then, select the “Remove” option and confirm your choice.
4. Change Wallet Settings:
To change the settings of a wallet, go to the “Wallets” tab and click on the three-dot menu next to the wallet you want to modify. From there, you can access various options to customize your wallet, such as changing the name, setting a default wallet, or updating the wallet address.
5. Import or Export Wallets:
Galxe also allows you to import or export wallets, which can be useful if you want to switch to a different platform or back up your wallet information. To import a wallet, go to the “Wallets” tab and click on the “Import Wallet” button. To export a wallet, click on the three-dot menu next to the wallet you want to export and select the “Export” option.
Note: It is important to exercise caution when importing or exporting wallets, as it involves sharing sensitive information. Make sure to follow the necessary security measures and double-check the authenticity of the platform you are using.
By following these steps, you can easily manage and make changes to your wallets in Galxe. This flexibility allows you to adapt to your specific needs and preferences when it comes to accessing and organizing your cryptocurrency funds.
Step 5: Change Wallets in Galxe
Changing wallets in Galxe is a simple process that allows you to switch between different wallets quickly and easily. Follow the steps below to change wallets:
1. Open Galxe
First, open the Galxe application on your device. Make sure you are logged into your account.
2. Access the Wallets Section
Once you are in the Galxe application, navigate to the “Wallets” section. This is where you can manage and change your wallets.
3. Select Wallet

In the “Wallets” section, you will see a list of your available wallets. Choose the wallet that you want to switch to by clicking on it.
4. Confirm Wallet Selection
A confirmation screen will appear asking you to confirm your wallet selection. Review the details and click on the “Change Wallet” button to proceed.
That’s it! You have successfully changed your wallet in Galxe. You can now use the new wallet for your transactions and manage your funds accordingly. Remember to securely store and manage your wallet information to protect your assets.
Question-answer:
Why do I need to connect a wallet in Galxe?
Connecting a wallet in Galxe allows you to securely store and manage your digital assets. It also enables you to participate in various blockchain functions, such as trading, staking, and voting.
What wallets are compatible with Galxe?
Galxe is compatible with several popular wallets, including MetaMask, Trust Wallet, and Ledger. You can choose the wallet that best suits your needs and preferences.
How do I connect my wallet to Galxe?
To connect your wallet to Galxe, first, open the Galxe application. Then, click on the “Connect Wallet” button and choose your wallet from the list of compatible options. Follow the on-screen instructions to complete the connection process.
Can I change my connected wallet in Galxe?
Yes, you have the flexibility to change your connected wallet in Galxe. Simply go to the “Settings” menu, select “Manage Wallets,” and choose the “Change Wallet” option. Follow the prompts to connect a new wallet of your choice.