Welcome to Galxe, the ultimate social networking platform that connects you to multiple networks all in one place. With our innovative multi-network support, you can effortlessly manage your online presence and interact with friends, family, and colleagues across various social media platforms. In this comprehensive guide, we will walk you through the process of maximizing your profile settings to ensure you make the most out of your Galxe experience.
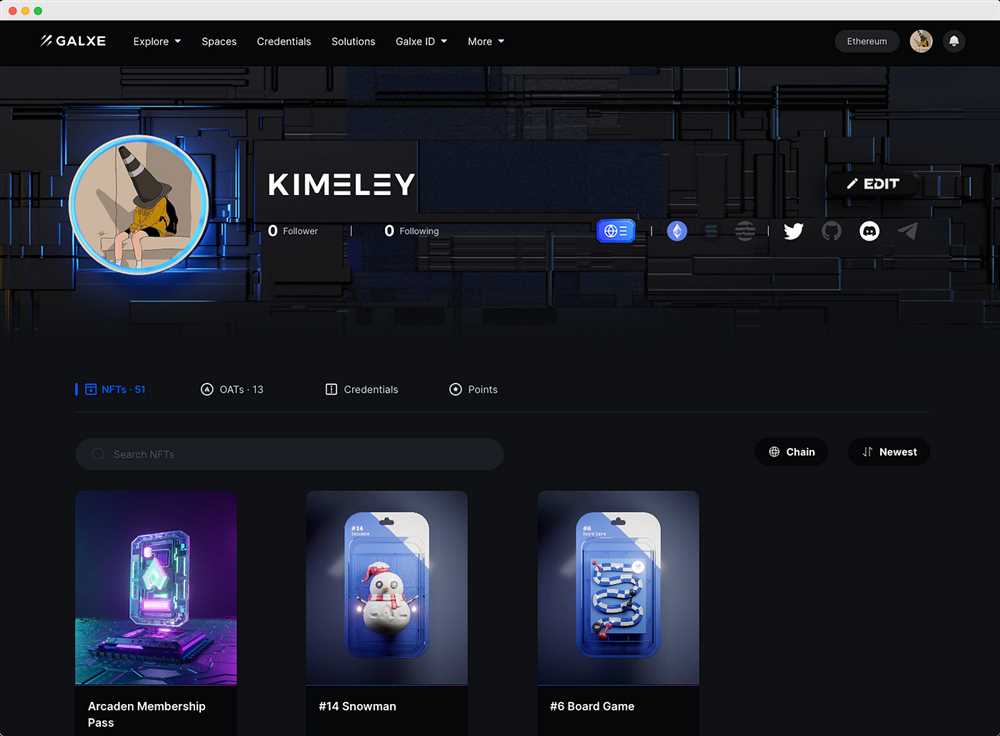
Setting up your profile is the first step to personalizing your Galxe experience. Start by selecting a catchy username that represents your digital identity. Remember, your username will be visible to other users and can leave a lasting impression. Next, choose a profile picture that captures your personality or represents your brand. A good profile picture can make a significant difference in attracting attention and forming connections.
Once you have set up the basics, it’s time to dive into the advanced profile settings. Galxe offers a plethora of customization options to make your profile truly unique. Showcase your interests, hobbies, and achievements with the “About Me” section. Let others get to know you on a deeper level by sharing your passions and experiences. Additionally, you can choose to display your location, education, and work history, enabling others to find common ground and forge meaningful connections.
Privacy and security are of utmost importance in the digital age. Galxe understands this and provides a comprehensive set of privacy settings to protect your personal information. You can choose who can view your profile, control the visibility of your posts, and manage your connections. With Galxe’s multi-network support, you have the flexibility to customize your privacy settings for each individual network, allowing you to maintain different levels of privacy across platforms.
Maximizing your profile settings on Galxe goes beyond just personalization and privacy. It’s about leveraging the power of our multi-network support to expand your reach and connect with like-minded individuals across different social media platforms. By linking your Galxe profile to your other accounts, you can seamlessly share content, engage with your audience, and build a strong online presence. Galxe’s multi-network support eliminates the need to switch between platforms, saving you time and effort.
So, what are you waiting for? Dive into your profile settings and unlock the full potential of Galxe’s multi-network support. Whether you are a social media enthusiast, a business professional, or someone seeking to expand their digital presence, Galxe is the platform for you. Join our vibrant community and start maximizing your profile settings today!
Setting Up Your Profile
When it comes to maximizing your presence on Galxe’s multi-network platform, your profile is your personal brand. It’s crucial to set up your profile effectively to make a lasting impression on other users and potential connections. Here are some key steps to follow:
1. Choosing a Profile Picture
Your profile picture is the first thing people see when they come across your profile. Make sure to choose a photo that represents you professionally and reflects your personality. Avoid using group pictures or low-quality images. A clear headshot with good lighting works best.
2. Writing a Compelling Bio
Your bio is an opportunity to showcase your skills, experience, and what makes you unique. Keep it concise and engaging, highlighting your key achievements and areas of expertise. Consider including any relevant certifications or awards you’ve received to add credibility to your profile.
Pro Tip: Use keywords related to your industry or skillset in your bio to improve your profile’s visibility in search results.
3. Highlighting Your Work Experience
List your relevant work experience chronologically, starting with your most recent position. Include the company name, job title, and a brief description of your responsibilities and accomplishments. Be sure to mention any career milestones or notable projects you were involved in.
4. Showcasing Your Skills
Galxe offers a variety of skill tags that allow you to showcase your expertise. Choose the skills that best align with your strengths and experience, and consider adding a few less common skills to make your profile stand out. This will help potential employers or collaborators find you when searching for specific skills.
Remember, a well-crafted profile can make a world of difference in attracting the right connections and opportunities. Take the time to optimize your profile and regularly update it to reflect your latest achievements and goals.
Customizing Your Bio and Profile Picture
When it comes to personalizing your online presence, customizing your bio and profile picture are two essential steps. These elements help you make a strong first impression and let others know who you are.
Add a Captivating Bio

Your bio is an opportunity to showcase your personality, skills, and interests. Keep it concise and engaging to grab the attention of other users. Highlight your achievements, passions, and any relevant information that sets you apart.
Consider using bullet points or short paragraphs to make your bio easy to read. Include keywords related to your industry or the topics you are interested in to increase the chances of appearing in relevant search results.
Remember, your bio should provide a glimpse into who you are and what you bring to the community. Don’t be afraid to inject some humor or show your creative side, but always keep it professional and respectful.
Selecting the Perfect Profile Picture
Choosing the right profile picture is crucial to making a positive impression. It’s the first thing others will see when they come across your profile.
Use a high-quality image that clearly shows your face and reflects your personality. A professional headshot is suitable for business-related profiles, while a casual and friendly photo may work better for personal accounts.
Ensure that the photo is well-lit and in focus. Avoid using heavily filtered or heavily edited images, as they may not accurately represent how you look in real life.
Remember, consistency is key. Using the same profile picture across multiple platforms helps users recognize you and builds trust and credibility.
By customizing your bio and profile picture, you can create a memorable and authentic online presence that resonates with others. Take the time to craft a captivating bio and choose a profile picture that represents the best version of yourself.
Managing Your Privacy Settings
When using Galxe’s multi-network support, it’s important to manage your privacy settings to ensure that your information is only shared with the people you want. Galxe provides several features and options to give you control over your privacy. Here are some key aspects to consider:
1. Profile Visibility
One of the first things you should do is adjust your profile visibility settings. You can choose to make your profile public, visible to only your connections, or completely private. To change this setting, navigate to the “Privacy” tab in your profile settings.
2. Network Privacy
If you are a member of multiple networks on Galxe, you can choose the privacy settings for each individual network. This allows you to have different levels of privacy for different networks, depending on your preferences. To manage network privacy settings, go to the “Networks” section in your profile settings.
3. Contact Information
Galxe allows you to control who can see your contact information. You can choose to display your email address, phone number, or other contact details to everyone, only your connections, or keep them private. To manage your contact information settings, go to the “Contact” tab in your profile settings.
4. Privacy Controls for Posts and Updates
When you post updates or share content on Galxe, you can choose who can see your posts. You can select from options such as public, connections only, or a custom list of individuals. This gives you the ability to share content with specific people or keep it more private. You can adjust these settings for each individual post or apply them as default settings. To modify your privacy controls for posts and updates, use the privacy dropdown menu when creating or editing a post.
5. Third-Party App Permissions
If you use third-party apps with your Galxe account, it’s important to review and manage the permissions granted to these apps. You can control which apps have access to your profile information, connections, and other data. To manage third-party app permissions, go to the “Apps” section in your profile settings.
By taking the time to manage your privacy settings on Galxe, you can ensure that your information remains secure and that you have full control over who can see your profile and content.
Connecting to Multiple Networks

With Galxe’s multi-network support, you can connect to and manage multiple social media networks from one centralized platform. This allows you to maximize your online presence and efficiently engage with your audience across various platforms.
To connect to multiple networks, follow these simple steps:
Step 1: Navigate to the Profile Settings
Start by accessing the Profile Settings section on Galxe. This can usually be found by clicking on your profile picture or username at the top right corner of the screen.
Step 2: Add New Network
Once in the Profile Settings, look for the option to “Add New Network” or “Connect New Account.” Click on this option to begin the process of adding another network to your Galxe account.
Depending on the network you wish to connect, you may need to provide your login credentials or authorize Galxe to access your account. This step may vary slightly depending on the specific network, but Galxe provides clear instructions to guide you through the process.
Step 3: Customize Network Settings
After successfully connecting a new network, you will typically have the option to customize the settings for that specific network. This includes choosing which types of content to sync, setting up notification preferences, and defining privacy settings.
Make sure to review and adjust these settings according to your preferences. This will ensure that Galxe manages your multiple networks exactly as you desire.
Step 4: Repeat for Additional Networks
Repeat steps 2 and 3 for each additional network you wish to connect to your Galxe account. Galxe supports a wide range of social media networks, including but not limited to Facebook, Twitter, Instagram, LinkedIn, and Pinterest.
By connecting multiple networks to your Galxe account, you can streamline your social media management process and avoid the hassle of individually logging into and managing each network separately. With Galxe’s comprehensive multi-network support, you’ll have all your networks at your fingertips!
| Network | Status |
|---|---|
| Connected | |
| Connected | |
| Connected | |
| Connected | |
| Connected |
Linking Your Accounts
Galxe’s multi-network support allows you to link your accounts from different social media platforms, ensuring a seamless and integrated experience across all networks. By linking your accounts, you will be able to share your posts and updates simultaneously across multiple platforms, expanding your reach and increasing your online presence.
Why Link Your Accounts?
Linking your accounts offers several advantages:
- Efficiency: Linking your accounts saves time and effort, as you only need to make one post that will be automatically shared across all your connected platforms. This eliminates the need to individually post on each social media platform.
- Consistency: Linking your accounts ensures that your message and branding are consistent across different networks. This helps in establishing your brand identity and making a lasting impression on your audience.
- Increased Visibility: By posting simultaneously on different platforms, you increase the chances of your content being seen by a wider audience. This can lead to more engagement, followers, and ultimately, increased visibility for your profile.
How to Link Your Accounts
Linking your accounts on Galxe is a simple process:
- Go to the settings section of your Galxe profile.
- Click on the “Linked Accounts” tab.
- Select the social media platforms you want to link.
- Follow the prompts to authenticate and authorize Galxe’s access to your accounts.
- Once linked, you can customize your sharing settings and preferences for each platform.
It is important to note that Galxe takes your privacy and security seriously. Your accounts will only be linked with your explicit permission, and Galxe will not store or share any sensitive information from your connected accounts.
Now that you know how to link your accounts on Galxe, take advantage of this feature to maximize your reach, engagement, and visibility on multiple social media platforms!
Creating and Managing Profiles for Different Networks
Galxe’s multi-network support feature allows users to create and manage profiles for different networks. This feature is particularly helpful for individuals or businesses who use multiple social media platforms or messaging apps to connect with their audience or clients.
Creating a Profile
To create a profile for a specific network, navigate to the “Profile Settings” section in your Galxe account. From there, click on the “Create New Profile” button and select the network you want to create a profile for. Fill in the necessary information such as your username or handle, bio, and profile picture. Once done, click on the “Save” button to create the profile.
Managing Profiles
Galxe provides a user-friendly interface for managing profiles. To access the profile management area, go to the “Profile Settings” section and click on the “Manage Profiles” button. In this section, you can view all your existing profiles and make changes to them as needed.
Each profile has its own settings, which can be customized according to your preferences. You can update your profile picture, bio, or even change your username or handle. Additionally, you can enable or disable certain features specific to each network, such as automatic posting or message integrations.
Furthermore, Galxe allows you to set a default profile for each network. This default profile will be used whenever you publish or send content without explicitly selecting a profile. You can easily set or change the default profile for a specific network by selecting the desired profile and clicking on the “Set as Default” button.
Switching Between Profiles
Galxe’s multi-network support allows you to seamlessly switch between different profiles for different networks. To switch profiles, click on the network icon located at the top of the Galxe interface. A dropdown menu will appear, displaying all your available profiles for that network. Simply select the desired profile, and Galxe will automatically update your interface to reflect the chosen profile.
By creating and managing profiles for different networks, Galxe simplifies the process of maintaining a consistent online presence across multiple platforms. Whether you’re an individual managing personal accounts or a business handling multiple social media channels, Galxe’s multi-network support feature helps you stay organized and in control.
Question-answer:
What is Galxe’s Multi-Network Support?
Galxe’s Multi-Network Support is a feature that allows users to connect and manage multiple social media accounts from a single platform.
How do I set up Galxe’s Multi-Network Support?
To set up Galxe’s Multi-Network Support, you need to create a Galxe account and then add your social media accounts to the platform. The process is simple and can be done within the Galxe settings menu.